
Drying Mushrooms in a Dehydrator – Instructions, Temperature & Tips for Perfect Wild Mushrooms
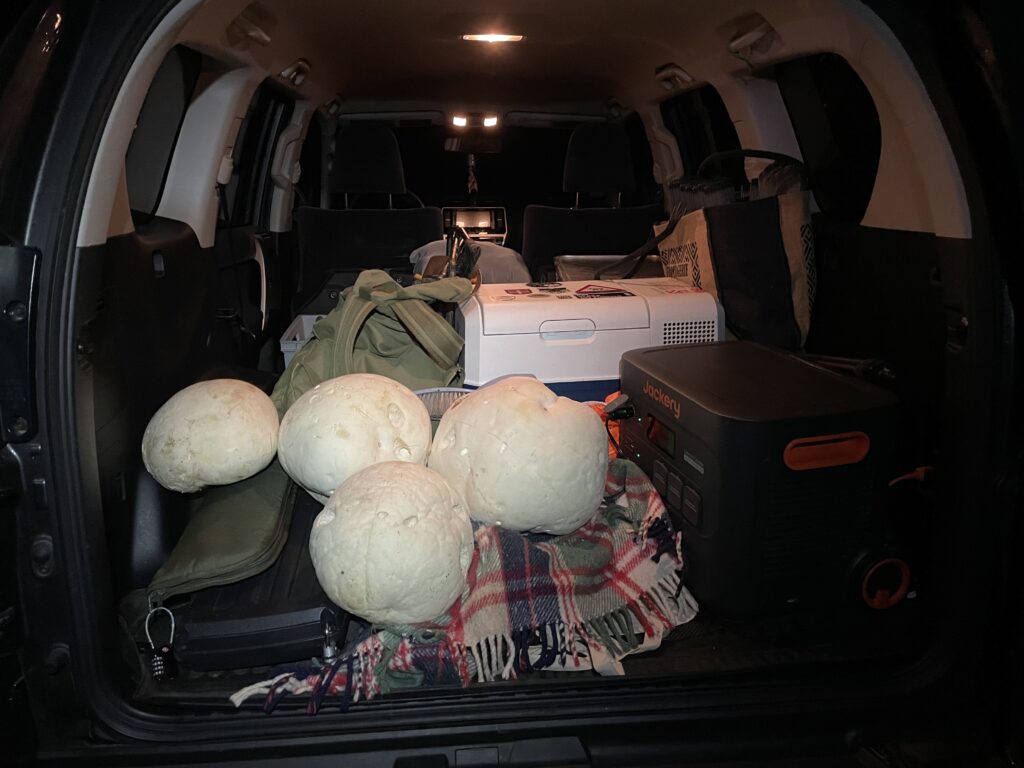
There’s hardly anything better than coming home after a successful day in the woods with a basket full of mushrooms. The smell of damp leaves, the crunch under your boots, and then that moment when you spot your first porcini—this is exactly what makes it so special for me.
The problem starts afterwards, though: mushrooms are extremely delicate. After just a day or two they can lose quality, turn soft, or begin to spoil. Especially if you—like me—spend a lot of time outdoors and don’t process everything immediately, you need a reliable solution. That’s exactly where a dehydrator comes in.
Inhaltsverzeichnis
- 1 Why I dehydrate mushrooms instead of freezing them
- 2 Which mushrooms work best for dehydrating
- 3 Preparation – the most important step
- 4 Dehydrating mushrooms – how I do it
- 5 When are the mushrooms truly done?
- 6 Storing dried mushrooms – the key to long shelf life
- 7 Benefits of a dehydrator for mushrooms
- 8 Buying a dehydrator – a great dehydrator for mushrooms
- 9 How to use dried mushrooms – getting the most out of them
- 10 My conclusion
Why I dehydrate mushrooms instead of freezing them
I used to freeze mushrooms quite often. It works in principle, but in terms of flavor the result can’t compete with dried mushrooms. Dehydrating does something really interesting: removing the water concentrates the aroma massively.
Mushrooms are roughly 80–90 % water. Once you remove that, the flavor compounds remain in a concentrated form. The taste is noticeably more intense than with fresh mushrooms—especially with porcini. Plus there’s the practical side: dried mushrooms are light, take up hardly any space, and don’t need refrigeration. Perfect for me—whether for longer outdoor trips, the camper van, or simply as a pantry staple for the kitchen.
Which mushrooms work best for dehydrating
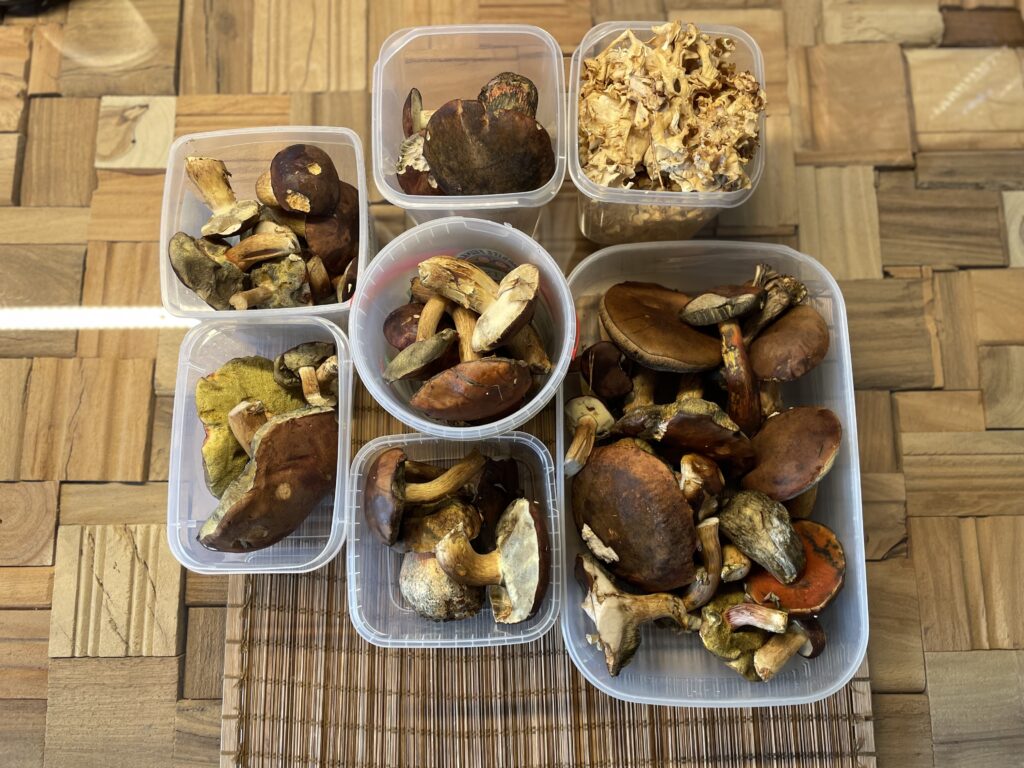
In general, many edible mushrooms can be dehydrated, but in practice these have worked best for me:
- Porcini (absolutely top-tier for drying)
- Bay boletes
- Cauliflower mushroom
- Birch boletes
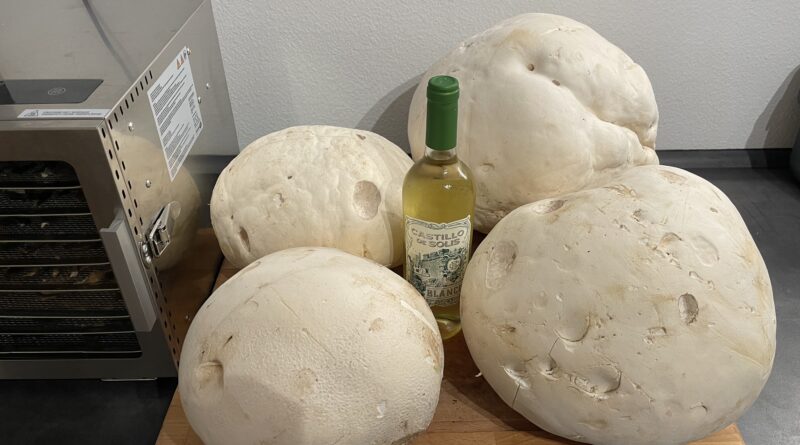
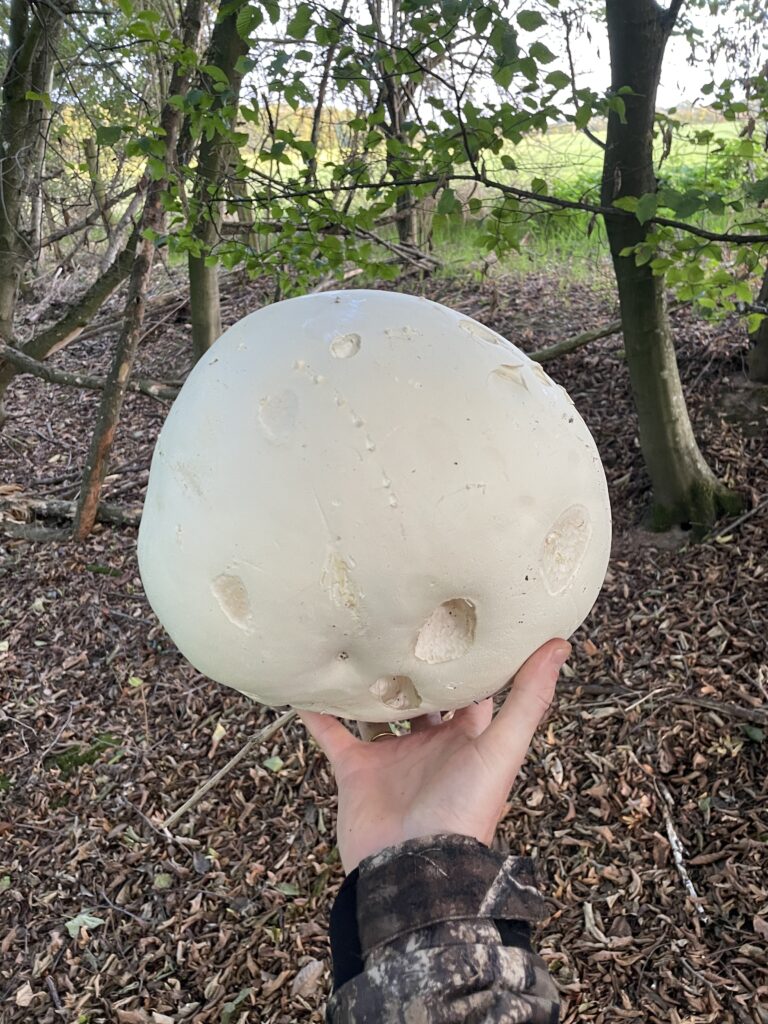
- Giant puffballs
- Button mushrooms
- King oyster mushrooms
Chanterelles can work too, but they lose a bit of texture—so I decide depending on the amount. The key rule is always the same: only use fresh, firm, flawless mushrooms. Anything that’s already soft or has worm damage gets sorted out immediately.

Preparation – the most important step
Quality stands and falls with preparation. I completely avoid washing mushrooms with water. They soak it up, which unnecessarily increases the drying time. Instead, I do this:
- remove rough dirt with a knife or brush
- slice mushrooms evenly (approx. 3–5 mm)
- halve or quarter larger specimens
The more uniform the pieces, the more evenly they will dry later on—this makes a big difference.
Dehydrating mushrooms – how I do it
The actual drying process is simple, but a few details matter. I place the mushroom slices loosely on the trays of the dehydrator. The key is that they don’t overlap, so air can circulate properly.
The ideal temperature is between 40 and 50 °C. It’s a good compromise: low enough to preserve aroma and as many nutrients as possible, but high enough to dry the mushrooms reliably.
Depending on the species, thickness, and water content, the process usually takes 6 to 12 hours. Very juicy mushrooms can take longer. I check in from time to time and, if needed, rotate the trays—especially with simpler devices that don’t distribute airflow perfectly.
When are the mushrooms truly done?
This is a point many people underestimate. In the end, the mushrooms should feel dry and slightly brittle. They must not be damp or rubbery. If in doubt, I’d rather leave them in for an extra hour.
Residual moisture is the biggest mistake—it can lead to mold later. A simple test: if a piece lightly cracks when bent or breaks cleanly, you’re good.
Storing dried mushrooms – the key to long shelf life
After dehydrating, I let the mushrooms cool down completely. Only then do they go into airtight containers. I usually use:
- jar with screw-top lid
- vacuum bags
- a dark, dry storage place
Optionally, you can add small desiccant packs (silica gel) to prevent any remaining moisture. Stored this way, mushrooms easily keep for months—and often even for years.
Benefits of a dehydrator for mushrooms
A dehydrator is the best choice for making jerky. Compared to an oven or grill, it offers:
- Even drying: Multiple trays deliver consistent results.
- Energy efficiency: Uses less power than an oven and is far more effective than drying in the oven.
- Gentle processing: Nutrients and flavors are preserved.
- Versatility: Besides mushrooms, you can also dehydrate meat, fruit, chilies, vegetables, herbs—and more.
Buying a dehydrator – a great dehydrator for mushrooms
When I decided to buy a dehydrator, I quickly realized there are big differences between devices. For drying mushrooms, I didn’t want some flimsy plastic model—I wanted a solid, hygienic machine that works reliably and dries evenly.
When dehydrating mushrooms, consistent temperature and good airflow are especially important. That’s the only way to preserve aroma and quality without the mushrooms staying too moist or drying unevenly.
In the end, I landed on this stainless-steel model—and I’m genuinely happy with it. It runs quietly, dries evenly across multiple trays, and is easy to clean after use. If you regularly process larger amounts of mushrooms, it makes a real difference.
For me, the dehydrator has become a fixed part of my outdoor kitchen—whether after a successful mushroom hunt or when prepping for the next trip.
What mattered most to me when buying:
Material
The dehydrator is made entirely of stainless steel—including the trays. It feels premium, it’s hygienic, and it’s easy to clean, which is ideal for mushrooms where moisture and residues can be an issue.
Temperature range
This is especially important for drying mushrooms. The unit can be set in 5-degree steps from 30 °C to 90 °C. For mushrooms, I usually use 40–50 °C—perfect for preserving aroma and quality.
Air circulation
Even drying is crucial for mushrooms. Thanks to the strong convection airflow, everything dries through reliably without me constantly swapping the trays.
Noise level
A real plus, especially for long drying times: the dehydrator runs pleasantly quiet and doesn’t bother you even over many hours.
Timer & operation
The timer goes up to 24 hours and can be set flexibly. With the glass door and LED lighting, I can always see how far the mushrooms are without interrupting the drying process.
Capacity
Eight stainless-steel trays offer plenty of space—ideal when you want to process larger quantities after a successful mushroom day.
My verdict on this dehydrator
Honestly, I didn’t expect to get this excited about a kitchen appliance—but this dehydrator has absolutely been worth it for me, especially for mushrooms and jerky.
If you want to buy a dehydrator, you should look for stainless steel, precise temperature control, a timer, and good airflow. My unit checks all those boxes, which is why I’d recommend it to anyone who wants to get serious about dehydrating.
Looking back, I would probably go for the slightly larger 10-tray version.

